
From crate to clear room
Installation and shipping, planned before production.
Know what arrives, what your site must provide and which decisions affect freight, assembly and weather performance.
What arrives in the kit
- Labeled polycarbonate panels with protective film
- Pre-drilled aluminum profiles and base frame
- Confirmed doors, windows and accessories
- Hardware, seals, fasteners and assembly guidance
- Reinforced export packing matched to the order
Furniture, deck or concrete work, utilities, HVAC and decorative fit-out are not included unless written into the quotation.
Move from an idea to a visible configuration.
Prepare the site before the crates arrive.
Foundation
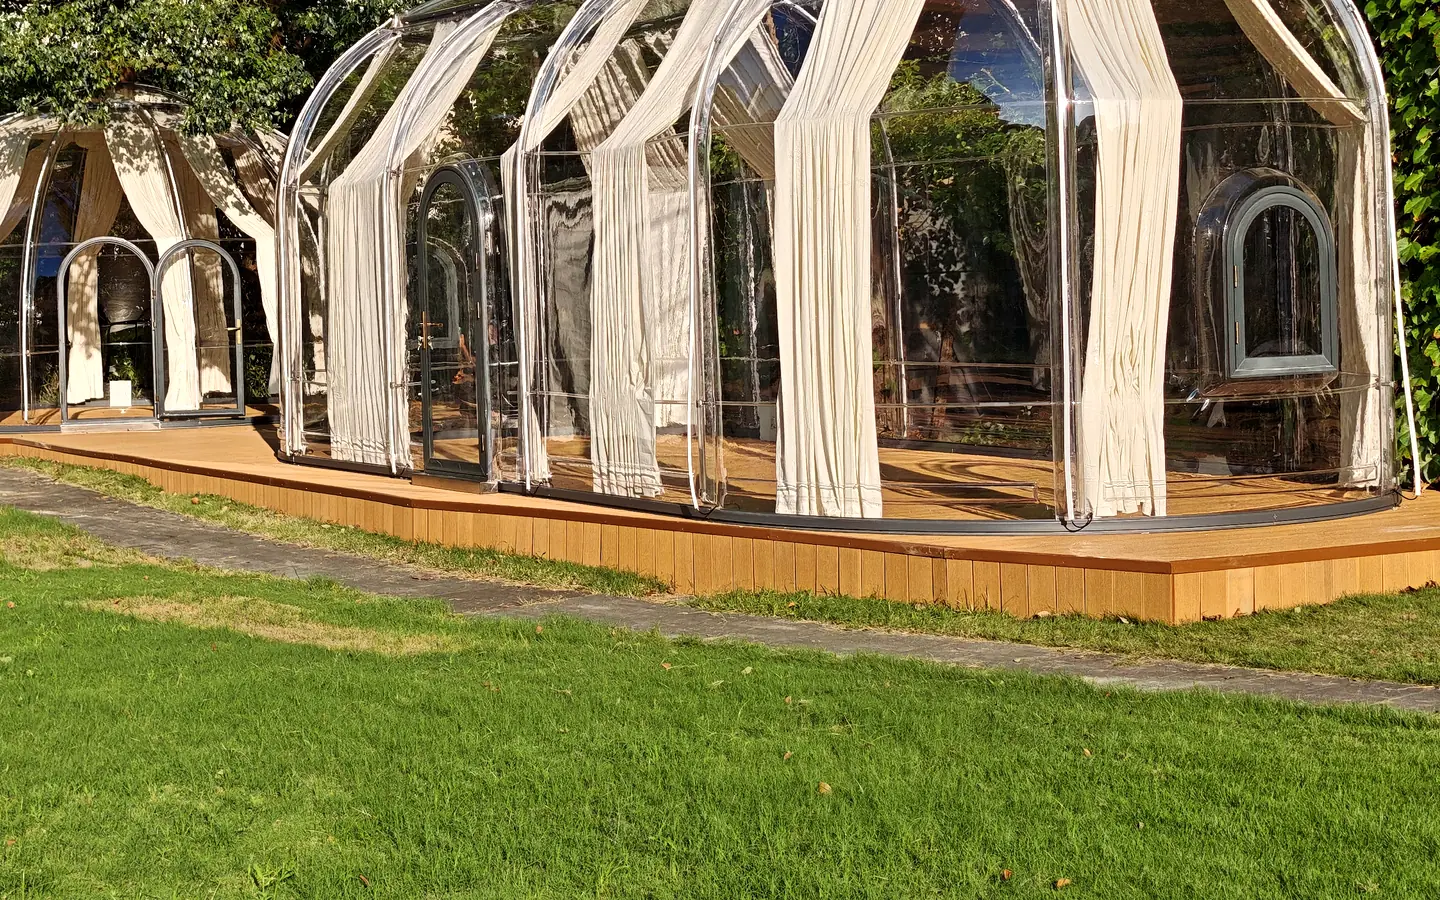
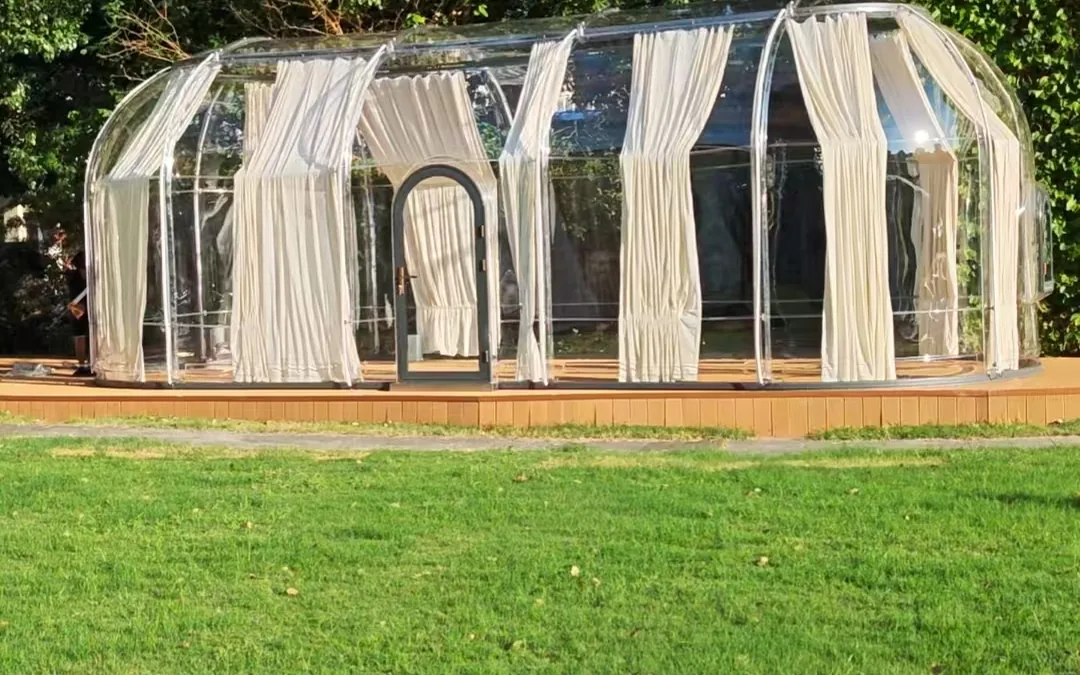
A flat, level and load-appropriate foundation is required. We provide base dimensions; a local professional must design and approve the platform, anchors and drainage for the site.
People and tools
Small standard models can be assembled by a prepared local team with ordinary hand tools and lifting assistance appropriate to the panels. Final crew size and time depend on model and site access.
Local permits
Planning, structural, fire, electrical and hospitality approvals vary. Confirm local permits before ordering or starting foundation work.
How the dome goes up, step by step.
Every Celenest dome ships as a labelled kit. There is no welding, no site fabrication and no proprietary machinery: the shell bolts to an aluminium base profile in a fixed sequence. The eight steps below are the sequence your crew will follow, whichever model you order.
- 01
Confirm the platform
Check the finished platform against the base dimensions in your quotation: level, load-appropriate, drained, with the anchor positions accessible. Correcting a platform after the panels arrive is the single most common delay.
- 02
Unpack and identify
Count crates against the packing list and photograph anything damaged before opening. Panels are labelled in assembly order. Leave the protective film on the polycarbonate until the final step.
- 03
Set out the base ring
Lay the aluminium base profile in position, check the diameter across two axes and confirm the door faces the direction agreed on your layout drawing. Everything above this ring inherits its accuracy.
- 04
Anchor the base
Fix the base to the platform using fixings suited to the substrate — timber deck, concrete slab or engineered foundation each take a different anchor, specified locally.
- 05
Raise the lower panel ring
Set the first ring of panels into the base and bolt them hand-tight only. The ring must be able to move slightly while it is being closed.
- 06
Close the upper ring and crown
Add the upper panels and the crown, completing the full circle before any bolt is finally tightened. Tighten in sequence around the dome, not panel by panel.
- 07
Fit door, window and ventilation
Install the aluminium door, opening windows, insect screens and the remote-controlled top lift where specified. Check that each opens and closes fully before sealing.
- 08
Seal, fit out and clean
Run the seals, fit the LED light strip and curtains, remove the protective film and wash the shell with clean water and a soft cloth. The dome is now weather-tight.
Crew and tools
Ordinary hand tools — spanners, a cordless driver, a spirit level and a tape measure. Compact home models are within reach of a prepared household; larger commercial models need a bigger crew and lifting assistance for the panels. Crew size and assembly time for your exact model are stated in the written quotation.
Support while you build
Step-by-step installation videos are provided to every buyer, and our engineers answer assembly questions by email and messaging throughout the build. Send a photo of the step you are on and you will get an answer, not a manual reference.
What we still recommend locally
Foundation design, anchoring specification, electrical connection and any permit work belong with a local professional. The kit and the guidance cover the dome; they do not replace local engineering approval.
Freight and arrival
| Stage | What we provide | Buyer action |
|---|---|---|
| Quote | Packing estimate and available freight option | Confirm destination, access and importer details |
| Before dispatch | Packing list and shipment documents | Confirm broker, duties and delivery appointment |
| Arrival inspection | Crate and component references | Photograph crates before opening; count packages immediately |
| Damage claim | Review and replacement-part coordination | Keep packaging and send dated photos, labels and affected part numbers promptly |
Transit times are estimates, not guarantees. Freight, import duty, tax, destination handling, unloading and local delivery are excluded unless the quotation states otherwise.
Send the destination before you choose a model.
It lets us consider packing volume, site access and a realistic delivery route while preparing your quote.